Did you know that improper preparation of interior walls can lead to unsatisfactory painting results? This step-by-step guide is designed to help you prepare interior walls for painting effectively, simplifying the process and setting you up for success.

Key Takeaways
- Cleaning your walls before painting gets rid of dirt and helps the paint stick better.
- Sanding the walls makes them smooth so the new paint looks nice and even.
- Applying primer is a key step. It covers old paint and stains, making the new color look bright.
- When you start painting, always work from one wet edge to another. This helps avoid visible lines in the final result.
Prepare Interior Walls For Painting
To properly prepare walls for painting, start by cleaning the surfaces with a damp cloth and grease-cutting detergent to remove dust, dirt, and surface stains. If mildew is present on the interior walls, treat it with a mixture of warm water and sugar soap.
Use a sanding block or pole sander equipped with fine-grit sandpaper to smoothen out any imperfections – this includes cracks, holes from picture hangers, nails or other inconsistencies in your drywall or plaster.
A putty knife can be utilized for larger cracks – simply fill these spots with joint compound and lightly sand once dry to attain a smooth surface. After sanding down the wall’s entire area, wipe away the remaining dust using a slightly damp sponge, then let it completely dry before applying primer—a step that helps ensure new paint adheres properly while also hiding any remaining discoloration from old paint jobs or repairs.
With your prepped wall now ready for color application—your subsequent attempts at painting will go much smoother due to.
Clean Walls Before Painting
Removing mildew from your walls is essential for a successful paint job. Here are the steps to get rid of it:
- Start by putting on protective gloves and a mask.
- Mix water and bleach in a bucket at a ratio of 3: 1.
- Apply this solution to the mildewed areas using a sponge.
- Allow the solution to sit for about 15 minutes.
- Use a damp cloth to wipe away the solution and dead mildew spores.
- Ensure walls are thoroughly dried before moving to the next step.
- Follow these steps to prep walls for painting and achieve a smooth surface.
- It’s crucial to remove all traces of mildew before applying new paint.
Remove Mildew
Getting your walls ready for a new coat of paint involves thorough cleaning. Follow these steps to ensure perfect results:
- Start by moving furniture away from the wall. You want to protect your belongings from water and detergent splashes.
- Take down decorations, picture hangers, and remove outlet covers.
- Use a duster or vacuum cleaner to remove surface dust on the wall.
- Mix a cleaning solution in warm water using a grease-cutting detergent such as sugar soap.
- Wet a sponge in the soapy water solution and clean the walls, starting from top to bottom. This prevents streaks of dirt from running down your walls.
- Scrub hard-to-clean areas with more pressure, or use an old toothbrush for tiny crevices.
- For tougher stains such as markers or ink, use rubbing alcohol on a cotton pad.
- Rinse the soapy residue off your walls with clean water and another sponge or damp cloth.
- Let the wall dry completely before you proceed to sanding or priming.
Prime The Walls Before Painting
Priming your walls before painting ensures a smooth surface for the new paint. Here’s how to proceed:
- Purchase a high-quality primer from your local home improvement store.
- Clear the room of any furniture and cover the remaining items with drop cloths to protect them from primer splatter.
- Apply painter’s tape around baseboards, trim, and fixtures to prevent unintended priming.
- Use a brush or roller to apply the primer evenly across the wall.
- Focus on one wall at a time, starting from the top and moving towards the bottom.
- Don’t rush; allow plenty of time for each layer of primer to dry properly before applying another coat.
- Fill any holes or cracks in the wall with a joint compound and lightly sand it once it dries for a smooth finish.
- Wipe down the entire wall with a damp cloth after sanding to remove dust particles.
- Wait at least one hour for the primer to dry before beginning the paint application.
Steps to Paint a Wall
Learn how to expertly paint your interior walls, starting with covering non-paint areas and moving on through pouring paint, edge work, ceiling painting, and final wall coverage. Dive into these steps to achieve a professional-looking finish that you’ll love.
Read on for all the details!
Cover Areas You Don't Want Painted
Protecting areas that should remain unpainted is a crucial step in preparing your interior walls. Here are some detailed steps to achieve this:
- Remove all the furniture from the room, if possible. If not, move it to the center and cover it with drop cloths.
- Take down any wall decor, such as picture hangers, mirrors, or artwork.
- Protect your floors by laying down protective sheets or old newspapers.
- Apply painter’s tape along the edges of window sills, door frames, baseboards, and crown molding.
- Cover light switches and electrical outlets with tape.
- Ensure areas like radiators or built-in cabinets are safely covered or masked off.
- For smaller intricate areas, use a combination of painter’s tape and newspaper to provide adequate protection.
Pour Paint
Pouring paint is a crucial step when preparing for an interior wall painting. Here’s how:
- Select your preferred paint color.
- Choose a clean, spacious area to work with the paint.
- Open the paint can using a putty knife or flathead screwdriver.
- Stir the paint thoroughly using a stirring stick to ensure consistency and blend of colors.
- Pour some paint into a separate smaller container, like a painting tray.
- Avoid pouring excess paint to prevent waste and spills.
- Use an appropriate-sized brush or roller for application.
- Always keep the remaining paint covered to prevent drying out.
Paint Along The Trim
Brighten up your room by painting along the trim with these easy steps:
- Use painter’s tape to cover the trim. This ensures that paint only goes where you want it.
- Choose a brush suitable for detail work, usually a 2-inch angled brush.
- Dip only one-third of the brush into your chosen paint color, then wipe off any excess.
- Start at the top of your trim and slowly move down, following the grain of the wood.
- Maintain a steady hand to create neat lines between the trim and the surrounding wall.
- Apply two coats of paint for full coverage, allowing each coat to dry as per instructions on the paint can.
- Once fully dried, gently peel off the painter’s tape.
Paint The Ceiling
You’re ready to start painting the ceiling after preparing the walls. Now, let’s dive into a few steps to help you do it like a pro:
- First, you have to remove any dust or cobwebs with a clean, dry brush.
- Protect your furniture and floors next by placing drop cloths over them.
- Use painter’s tape on the wall edges where they meet the ceiling for protection against drips and streaks.
- Have your paint ready in a tray, and use an extension pole fitted with a roller for efficient painting.
- Apply one coat of primer onto the ceiling to ensure proper adhesion of paint.
- Once the primer dries fast, pour your chosen ceiling paint color into another tray.
- Start painting from one corner of the room, working in straight, overlapping strokes towards the opposite corner.
- Keep dipping your roller into the paint every couple of strokes to maintain a wet edge and avoid visible lines between sections.
- Allow the first coat to dry for at least one hour before applying a second coat if needed.
Paint The Walls
After the prep work is complete, it’s time to start painting the walls. Here are your steps:
- Stir your paint thoroughly using a stick or a paint stirrer tool.
- Pour the stirred paint into a roller pan to avoid spills and drips.
- Apply painter’s tape around windows, doors, and any areas you want to protect from overpainting.
- Start from one corner of the wall and work your way across.
- Use a roller for large, open sections of the wall.
- Dip the roller in the pan and roll it back and forth to saturate it with paint.
- Apply the paint in an ‘M’ or ‘W’ pattern, then fill in with straight lines for even coverage.
- Have a brush handy for corners and edges where your roller can’t reach efficiently.
- Paint from top to bottom to catch any drips as you go along.
- Let the first coat dry before applying a second one.
Leave A Wet Edge
Maintaining a wet edge as you paint is crucial for achieving a smooth finish. Follow these steps to ensure professional-level results:
- Begin painting near the corner of the room.
- Apply painter’s tape on the surfaces you don’t want painted.
- Load your brush with paint but avoid overloading it, for precision.
- Paint a single, uninterrupted stroke from top to bottom of the wall.
- Take another dip in the paint and start your next stroke right where the previous one ended.
- Repeat this process, always starting at the wet edge of your last stroke, slightly overlapping it.
- If you need to take a short break, stop at a natural break point, like an inside corner or edge of a wall.
- Don’t let paint dry before moving onto adjacent areas; this will prevent visible lines from forming when two dried coats meet.
Drying Time and Cleanup
Allowing appropriate drying time between coats enhances the longevity of your paint job. Typically, it takes one hour for the first coat to dry. However, this can vary depending on humidity levels and temperature conditions in your room.
For optimal results, waiting for two hours or more is often recommended before applying the second coat.
Utilize warm, soapy water to clean up brushes, rollers, and any other equipment you have used during the painting process. Most interior paints are water-based and will easily wash out with a thorough rinse.
If left uncleaned, equipment becomes unusable pretty quickly, which would mean unnecessary additional purchases in future projects – an avoidable expense indeed!
Prepping Interior Walls For Painting FAQs
Absolutely, prepping interior walls before painting is crucial to achieve a professional finish. It involves several steps, including cleaning, patching, and priming.
Start by cleaning the walls to remove any dirt or grime. Wipe them down with a mild, soapy solution, rinse, and let dry.
Next, patch any holes or cracks with a spackling compound. Sand the patched areas smooth for an even surface.
Finally, apply a coat of primer to ensure proper adhesion of the paint. This step also helps to hide any color differences or stains on the wall.
The best prep for walls before painting involves several necessary steps.
Firstly, rid your walls of dust or dirt using a mild cleaning solution.
Next, address any imperfections, such as holes or cracks. Use a spackling compound for this, and then sand the areas to ensure a smooth surface.
Lastly, apply a coat of primer. This step not only assures improved paint adhesion but also helps to conceal any stains or color discrepancies on the wall.
Adherence to this meticulous preparation process guarantees a professional-level paint job.
The optimal method to clean interior walls before painting involves a few simple steps. Start by creating a cleaning solution with mild dish soap and warm water.
Use a sponge or cloth to wipe the walls gently. Focus on high-touch areas as they tend to accumulate more dirt and grime.
Rinse the walls with clear, warm water afterward.
Finally, let the walls dry thoroughly before starting the painting process. This step ensures your paint adheres correctly and provides a smooth, professional finish.
Sanding interior walls prior to painting is not always necessary but can be beneficial. If your walls are smooth and in good condition, skipping sanding could be an option.
However, if there are noticeable imperfections, sanding can help achieve a smoother surface. This process removes rough spots and bumps that might show through the paint.
Sanding can enhance paint adhesion, especially when dealing with glossy surfaces or applying a lighter color over a darker one. Always remember to clean the dust off after sanding to ensure a cleaner paint job.
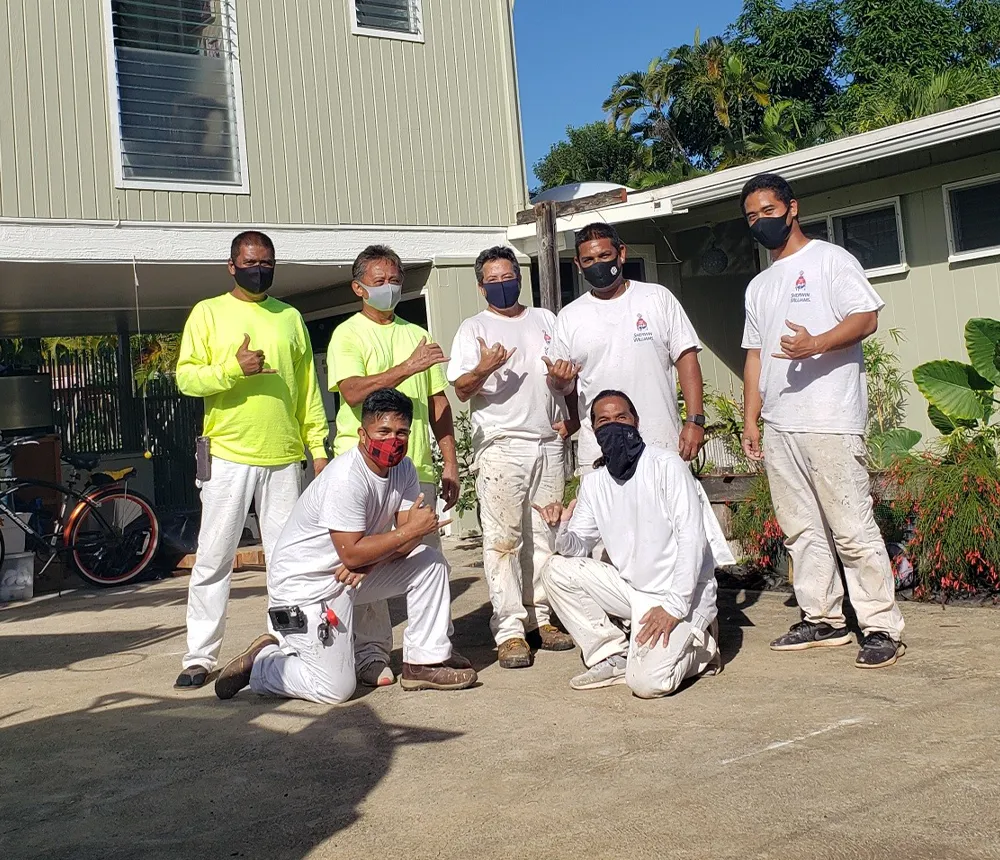
Partner With The Best Interior Painters In Mililani, HI
If you’re looking for professional assistance for your interior painting project, don’t hesitate to reach out to us at Bernardo’s Painting. Our team of experienced painters is equipped with the skills and knowledge to ensure a smooth, high-quality finish.
Feel free to contact us via phone at (808) 384 0864 for top interior painting services in Mililani, HI. We look forward to working with you!
If you’d rather skip the prep entirely, our team of Mililani interior painters handles everything from prep through final coat.