Nothing can dampen the satisfaction of a freshly painted surface like the presence of unsightly streaks.
This article will share valuable tips and techniques to help you banish those paint streaks and achieve a flawless finish. Let’s dive in and learn how to fix paint streaks and restore your surfaces to their pristine glory!

Methods to How to Fix Paint Streaks
1. Harness the Power of a Paint Roller
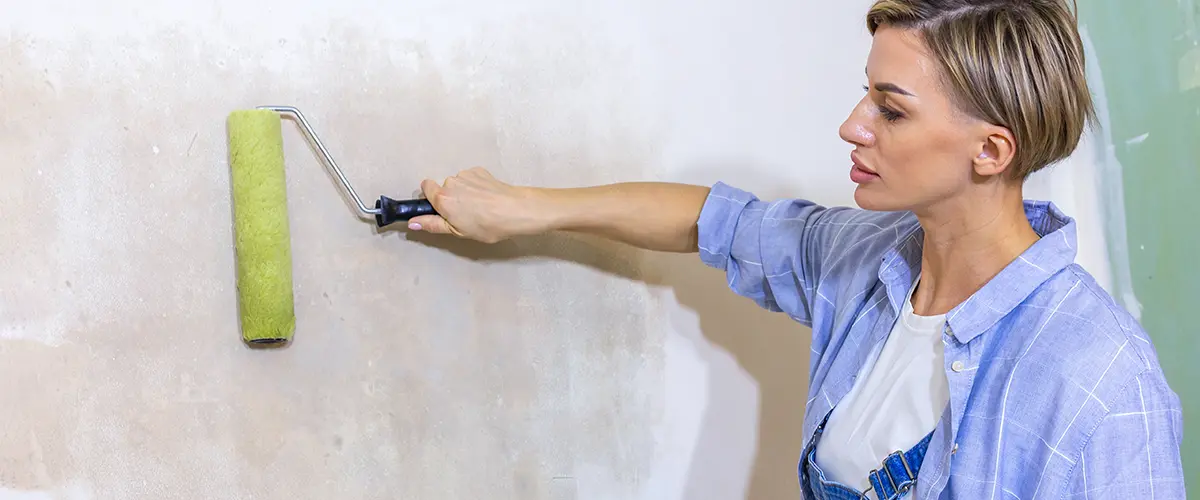
- Begin by generously coating the afflicted area with a fresh layer of paint using a high-quality roller.
- Ensure the roller is evenly saturated with paint and smoothly glide it with long, overlapping strokes to blend the new coat with the existing one.
- Feather the edges of the recently applied paint to create a seamless transition, effectively eradicating any remnants of those bothersome streaks.
2. Tackle Unwanted Brush Marks
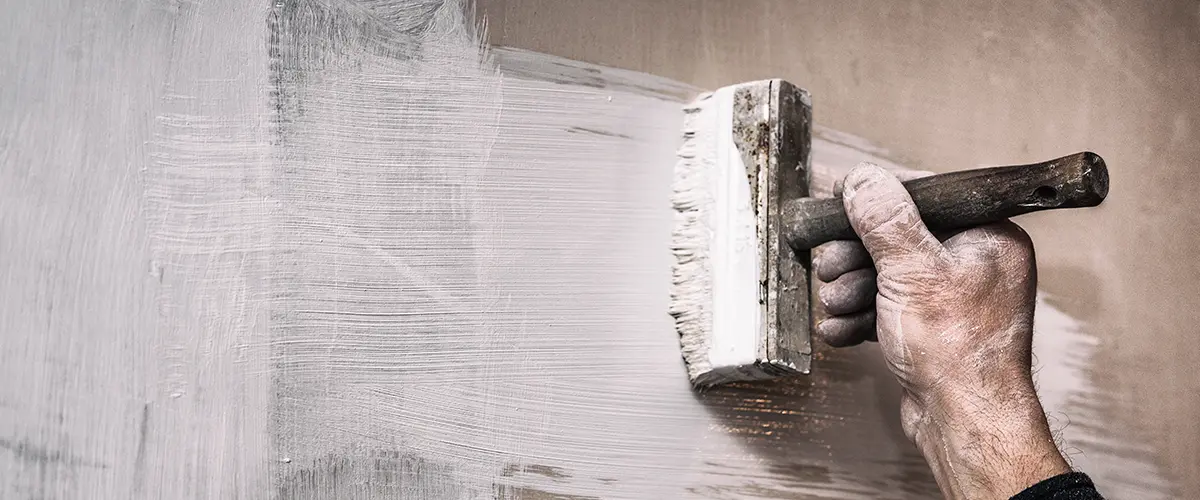
- Dip a clean brush into the paint, gently tapping off any surplus liquid.
- Meticulously apply a thin, even layer of paint over the streaked area, moving in parallel with the original brush strokes.
- Skillfully feather the edges of the fresh paint to ensure a harmonious fusion with the surrounding surface, resulting in an impeccable, streak-free appearance.
3. Sand and Repaint with Finesse
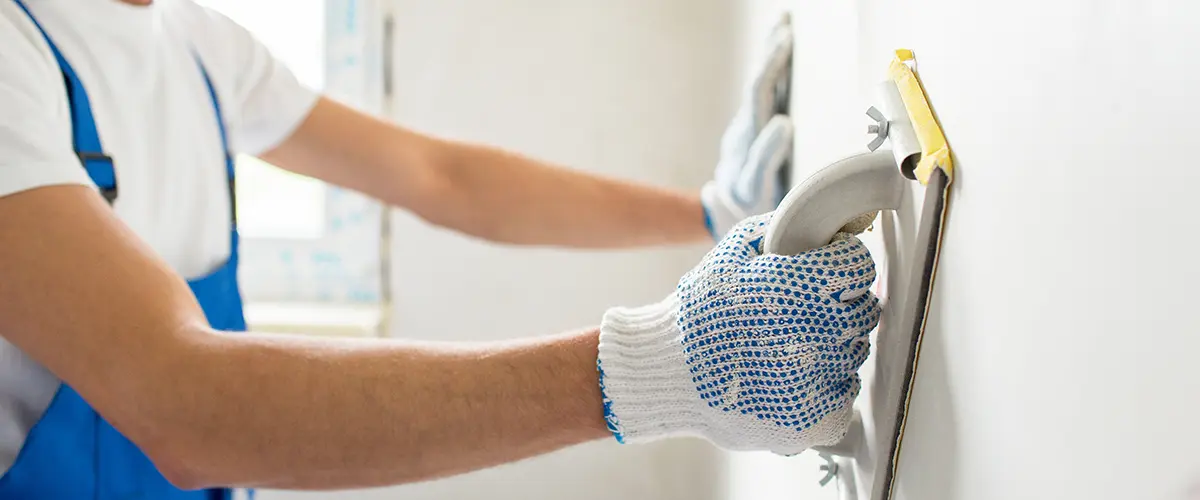
- Commence by delicately sanding the affected area using fine-grit sandpaper or a sanding block, diligently eliminating any ridges or unevenness.
- Employ a clean cloth or sponge to eradicate any residual dust particles meticulously.
- Proceed to apply a fresh coat of paint using a brush or roller, ensuring consistent coverage and seamless integration with the surrounding areas.
- Consider opting for multiple thin coats instead of a solitary heavy application for optimal results that will leave those streaks a distant memory.
4. Ponder the Potential of Primer
If your valiant efforts to vanquish the paint streaks persistently fall short, it may be time to enlist the aid of a primer. A primer bestows a uniform foundation, facilitating superior adhesion and a flawlessly smooth paint application. Follow these steps:
- Thoroughly cleanse the affected area, diligently purging it of any dirt, dust, or greasy residue.
- Apply a suitable primer specifically formulated for your surface type (e.g., latex primer for walls).
- Once the primer has fully dried, apply your desired paint color, following the aforementioned techniques.

Preventing Unsightly Paint Streaks
Paint streaks on walls and ceilings can mar the beauty of your freshly painted walls, leaving you with a less-than-desirable finish.
However, with some mindful techniques and attention to detail, you can easily avoid these uneven paint streaks and achieve a flawless result for your painting project.
Let’s explore some key strategies to help you avoid paint streaks.
1. Choose the Right Tools and Materials
Using the appropriate tools and materials is crucial in preventing paint streaks.
Opt for high-quality brushes and rollers suitable for the type of paint and surface you are working with. Good-quality tools can help distribute the paint evenly and reduce the chances of streaks.
Before starting your project, ensure your brushes are clean and free from any leftover paint or debris. Residual paint or particles can lead to streaks and uneven application.
Use the right amount of paint on your brush or roller. Excess paint can result in drips and streaks. Avoid overloading the brush or roller by gently tapping off any excess paint before application.
2. Prepare the Surface Properly
Proper surface preparation is essential to prevent paint streaks. Clean the walls or surface thoroughly to remove any dirt, dust, or grease. A clean surface allows the paint to adhere smoothly and evenly.
If there are any imperfections on the walls, such as leftover brush marks or uneven patches, sand them down gently using fine-grit sandpaper. Smoothing out these areas ensures a more uniform paint application.
3. Master the Technique
Applying paint with the right technique is vital if you want to avoid paint streaks. Applying a primer before painting can help create a smooth surface, making it easier for the paint to adhere evenly and reducing the chances of streaks.
Instead of tackling large areas at once, divide the surface into manageable sections. This approach allows you to maintain control over the paint application and prevents it from drying too quickly, which can lead to visible brush or roller marks.
Don’t use too much paint, or you’ll likely end up with uneven brush marks on your newly painted walls.
Whether you’re using a brush or roller, apply paint using smooth and even strokes. Avoid pressing too hard or working too quickly, which can cause streaks and unevenness.
When working on larger surfaces or transitioning between sections, ensure that wet edges are blended smoothly to create a seamless finish. This technique helps avoid visible lines or streaks where the paint overlaps.
4. Consider Multiple Thin Coats
Applying multiple thin coats of paint is often better than a single thick coat. Thin coats dry faster and are less likely to develop visible brush or roller marks.
Wait for each coat to dry completely before applying the next one. This approach allows you to assess the surface and make any necessary touch-ups or adjustments.

How Do You Fix Raised Edge Roller Marks?
Have you encountered those frustrating raised lines of paint, resembling boundary marks, left behind by the edges of your paint roller?
This common issue occurs when the roller is overloaded with paint and applied with excessive pressure against the wall.
Fortunately, rectifying this problem is a breeze.
To begin, gently sand down the raised edges that cause the unsightly lines.
Choose sandpaper with grit between 120 and 150 for optimal results. The goal is to level the raised areas without damaging the surrounding paint. Remember, a light touch is key!
When sanding, it’s essential to proceed with caution and precision. Be mindful not to sand too aggressively, as this can unintentionally remove existing paint layers.
If you accidentally sand too far down and expose the wall, don’t worry! Simply touch up the affected area with some paint once the sanding is complete.
Avoid Painting Mistakes Altogether
Tired of fixing paint streaks or paint jobs that take too long to complete?
At Bernardo’s Painting, our commitment to delivering flawless results and our attention to detail ensures a transformation that exceeds your expectations. Trust us for a seamless, professional finish that truly elevates your space.
Contact us today for a consultation and let us bring color and beauty to your home.
