Nobody wants to look at the fresh coat of paint on their walls and see bubbles popping up. It means more work and having to deal with knowing they’re there, ruining the look of your walls.
Let’s talk about how to fix paint bubbles, what causes them, and how we can prevent them from appearing.

What Causes Paint Bubbles In The First Place?
Achieving a smooth and flawless paint job can be exciting, but encountering paint bubbles can quickly dampen your enthusiasm.
These unsightly blistered paint spots can appear seemingly out of nowhere, marring the beauty of your freshly painted walls. Understanding the causes behind paint bubbles is essential in preventing their occurrence and ensuring a professional-looking finish.
- Trapped Moisture
One of the primary causes of paint bubbles is trapped moisture. When painting over a surface that retains moisture, such as damp walls or surfaces exposed to high humidity, the moisture can become trapped beneath the layers of paint.
As the paint dries, the trapped moisture tries to escape, resulting in water-filled bubbles that push against the paint coating. This leads to blistered paint and an uneven surface.
- Incorrect Application Technique
The way paint is applied can significantly impact the occurrence of paint bubbles. Using a medium nap roller cover with excessive paint can cause thick layers to form.
As these thick layers dry, they can trap air pockets, leading to the formation of bubbles. Similarly, applying multiple coats of paint without sufficient drying time between each coat can also result in the entrapment of air, causing bubbles to form.
- Incompatibility Between Paint Layers
Mixing different types of paint can lead to compatibility issues, resulting in paint bubbles. For instance, applying latex paint over oil-based paint without proper surface preparation can lead to adhesion problems.
The latex paint may not bond correctly with the underlying surface, forming bubbles as the paint dries.
- Surface Contaminants and Poor Preparation
A poorly prepared surface is more susceptible to paint bubbles. Dust, dirt, grease, or other contaminants on the surface can hinder the proper adhesion of the paint, causing bubbles to form.
It’s essential to clean the surface before painting thoroughly, ensuring it is free from any debris that could compromise the integrity of the paint job.
- Environmental Factors
Environmental conditions play a crucial role in the formation of paint bubbles. Painting in high heat or extreme humidity can cause the paint to dry too quickly, preventing trapped moisture or air from escaping, thereby forming bubbles.
It is recommended to paint in moderate temperatures and humidity levels to minimize the risk of bubble formation.
How To Fix Paint Bubbles
If you’re looking to fix bubbling paint, here are some techniques that might prove useful.
1. Wait To See If More Pop Up
When you first see bubbles rising up on your walls, wait. The paint could just be starting to bubble up.
There may be more, and doing it all at once rather than multiple times is better. It’s best to wait for the paint to completely dry and any damp spots if that’s the cause.
Sometimes the bubbles can go down after drying. These areas can eventually start peeling, so keep an eye on them.
2. Remove The Bubbles
To fix paint bubbles, you first need to pop them. Pop the big ones with a sharp object (you can use a putty knife) and scrape areas with smaller ones. You need to remove them so you can get to the area beneath.
3. Sand The Area Smooth
Now you start prepping the area so the new paint sticks and doesn’t bubble up. Lightly sanding gives the area texture, which the paint can better stick to.
It’s like how bald tires don’t have a good grip on the road, but new tires have that texture that helps them grip the road. A medium-fine sanding sponge or sandpaper will work.
4. Clean The Area
You don’t want to have to fix paint bubbles soon after fixing them the first time, right? It could have been dirt or some other contamination causing the bubbling.
Cleaning the area gets rid of them and any dust from the sanding. You can dampen a sponge with soapy water and gently clean the area.
5. Prime The Spots
You’ll want to use primer properly to give the paint a better chance of sticking. Primer is what helps paint stick to walls even better.
Let it dry thoroughly before starting to paint. This way, you’re much less likely to have to fix paint bubbles in the same area again.
6. Paint
Use the right tools and techniques when doing this. The best technique to use when repainting an area is feathering.
You start in the middle of the spot and gently brush outwards, going lighter as you go further. This helps the new paint blend in better with the paint already on the wall.
How To Prevent Paint Bubbles From Forming
Painting can transform the look and feel of any space, whether you’re sprucing up a room or giving your home’s exterior a fresh new look.
However, one frustrating issue that can arise during a paint job is the formation of paint bubbles. These unsightly blisters can mar the smoothness and beauty of your freshly painted surface.
This section will explore effective techniques to prevent paint bubbles from forming, ensuring a flawless and long-lasting finish.
1. Prepare The Painting Surface
Before diving into your paint project, properly preparing the painting surface is crucial. Start by cleaning the area to be painted thoroughly.
Remove any dirt, dust, or grease using a mild detergent or cleaner. Rinse the surface well and allow it to dry completely.
Moisture trapped beneath the paint can cause bubbles, so ensure the surface is completely dry before proceeding.
2. Choose The Right Paint
Selecting the appropriate paint for your project is essential in preventing paint bubbling. Opt for high-quality paints that are specifically formulated for the intended surface.
While oil-based paints are known for their durability, they can be prone to bubbling if applied incorrectly.
If you use oil-based paint, follow the manufacturer’s instructions carefully and apply thin, even coats to avoid excessive buildup.
3. Apply Paint in Ideal Conditions
The environmental conditions during the painting process play a significant role in preventing paint bubbles.
Avoid painting on hot, humid days or during periods of high moisture. Excessive heat and humidity can accelerate the drying process, trapping moisture and causing bubbles to form.
Aim for a temperature range of 50 to 85 degrees Fahrenheit with low humidity for optimal results.
4. Properly Prime The Surface
Priming the surface before painting is a vital step in preventing paint bubbles. Primer creates a smooth adhesive layer between the surface and the paint, ensuring better adhesion and reducing the likelihood of bubbles.
Choose a high-quality primer compatible with both the surface material and the type of paint you intend to use. Apply the primer evenly and allow it to dry thoroughly before proceeding with the paint application.
5. Use Fine Grit Sandpaper
If you notice imperfections on the surface or paint over an existing painted surface, consider using fine grit sandpaper before applying the paint.
Lightly sanding the surface helps remove any rough spots or inconsistencies, creating a smoother canvas for the paint.
Remember to clean off any sanding residue before proceeding with the paint application.
6. Apply Thin, Even Coats
Proper paint application technique is crucial in preventing paint bubbles. Avoid applying thick layers of paint as they take longer to dry and can trap air, leading to bubbles.
Instead, apply thin, even coats of paint, allowing each layer to dry completely before adding the next. This technique promotes better adhesion and reduces the risk of trapped moisture and air bubbles.
7. Let The Surface Air Dry Completely
Patience is key when it comes to preventing paint bubbles. Once you’ve completed your paint job, resist the temptation to rush the drying process.
Allow the painted surface to air dry completely before exposing it to any external factors such as dust, debris, or moisture.
Rushing the drying process can cause bubbles to form as trapped moisture evaporates, compromising the integrity of the paint job.
Don’t Let Paint Bubbles Ruin Your Wall
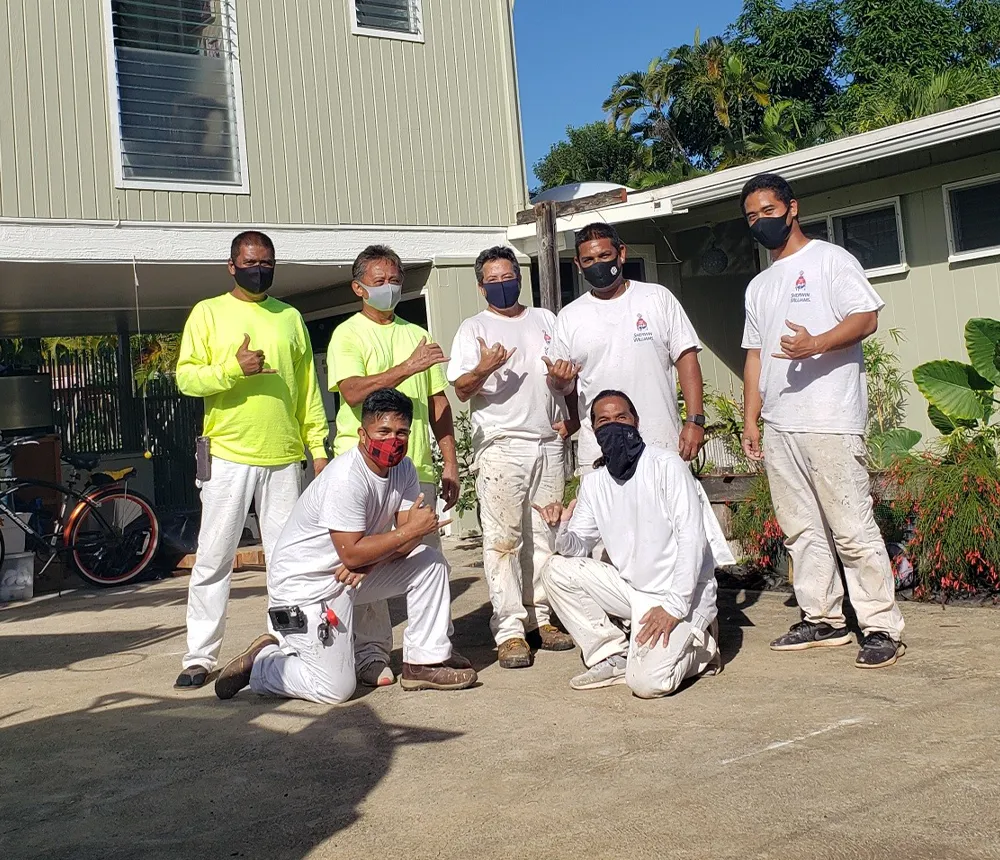
At Bernardo’s Painting, we specialize in fixing paint bubbles with precision and care. Our team of experts will restore the beauty of your walls, leaving them smooth and flawless.
Contact us today for hassle-free solutions and enjoy a stunning, bubble-free finish. Visit our interior painting services page for more information.